
The general theory of the indicator is that if the price goes above the clouds a bullish signal is produced while below the clouds a bearish signal is produced.
The clouds also turn color that correspond to the trend but sometimes they are not inline with when the price crosses. A strong trend will have both a cross and change of cloud color to match the trend direction.
The clouds can also be used with other indicators to confirm trends. A cloud break does not guarantee the trend has change and is mearly a signal that the trend may have changed. It takes a diligent eye and skill with using the indicator to properly use it's powers.
Also put another way: a break below a cloud means the cloud can be a resistance and a break above it the cloud can be a support. Again this takes a diligent eye to properly use these technical analysis techniques and combine them with other theories of techncial trading. Most often knowledge, skill, and experience are the key factors to properly use.
The Tenkan and Kijun lines work similar to short term (Tenkan) and long term (Kijun) moving averages and some people even call them moving averages.
The meaning of the name of the indicator can be translated into "What a man in the mountain sees" and "one glance equilibrium chart" .
Crude Oil Daily Charts (2):


Gold Daily Charts (2):


Silver Daily Charts (2):


DAX30 (Germany) Daily Charts (2):


(DJI)Dow Jones Industrial Daily Charts (2):


Nikei (Japan) Daily Charts (2):


EUR/USD Daily Charts (2):


USD/JPY Daily Charts (2):


USD/CAD Daily Charts (2):


AUD/USD Daily Charts (2):


NZD/USD Daily Charts (2):


USD/CHF Daily Charts (2):


AUD/CHF Daily Charts (2):


GBP/JPY Daily Charts (2):


USD/MXN (Mexico) Daily Charts (2):


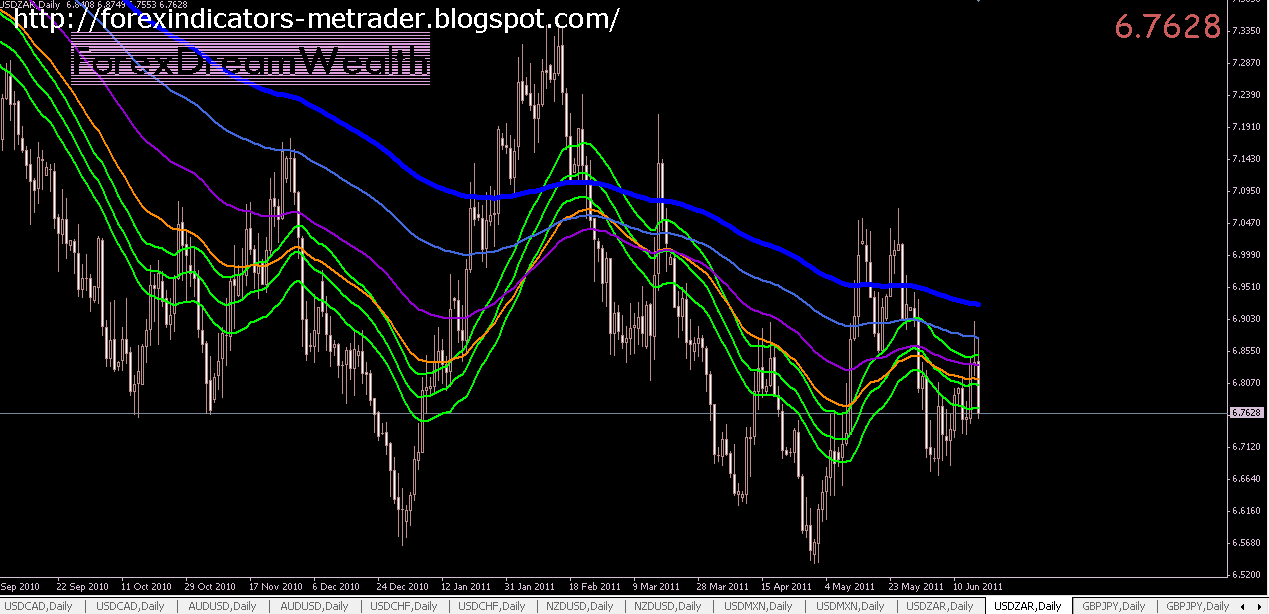
USD/ZAR (South Africa) Daily Charts (2):

US Lumber Daily Charts (2):


10yr Note (price only) Daily Chart (2):


No comments:
Post a Comment